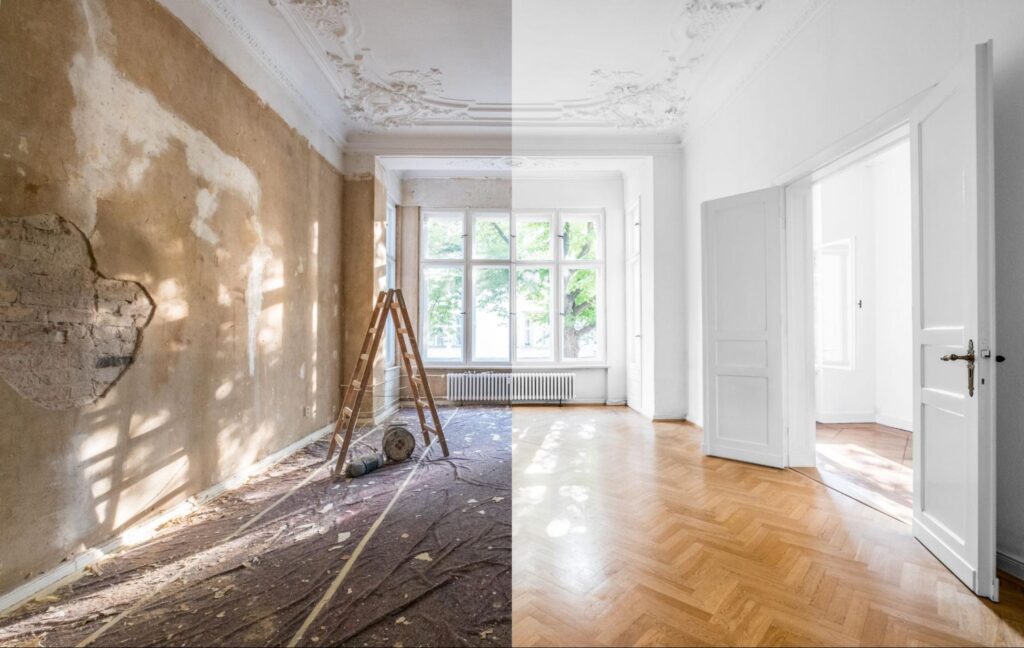
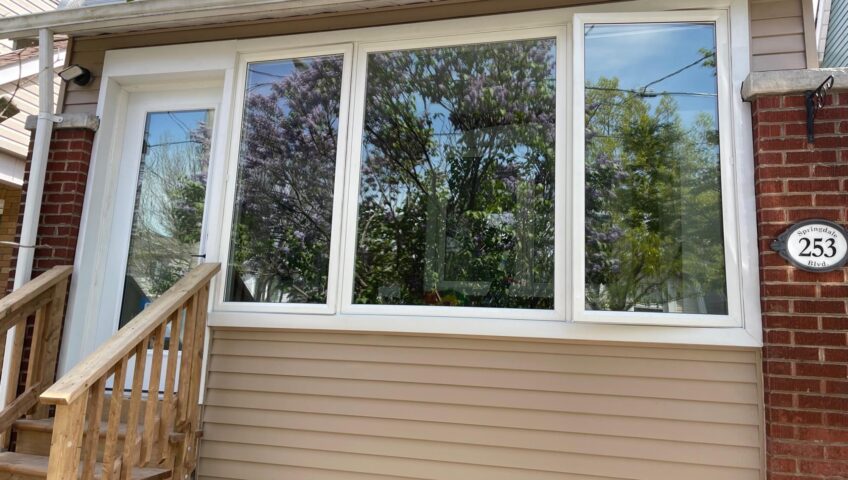
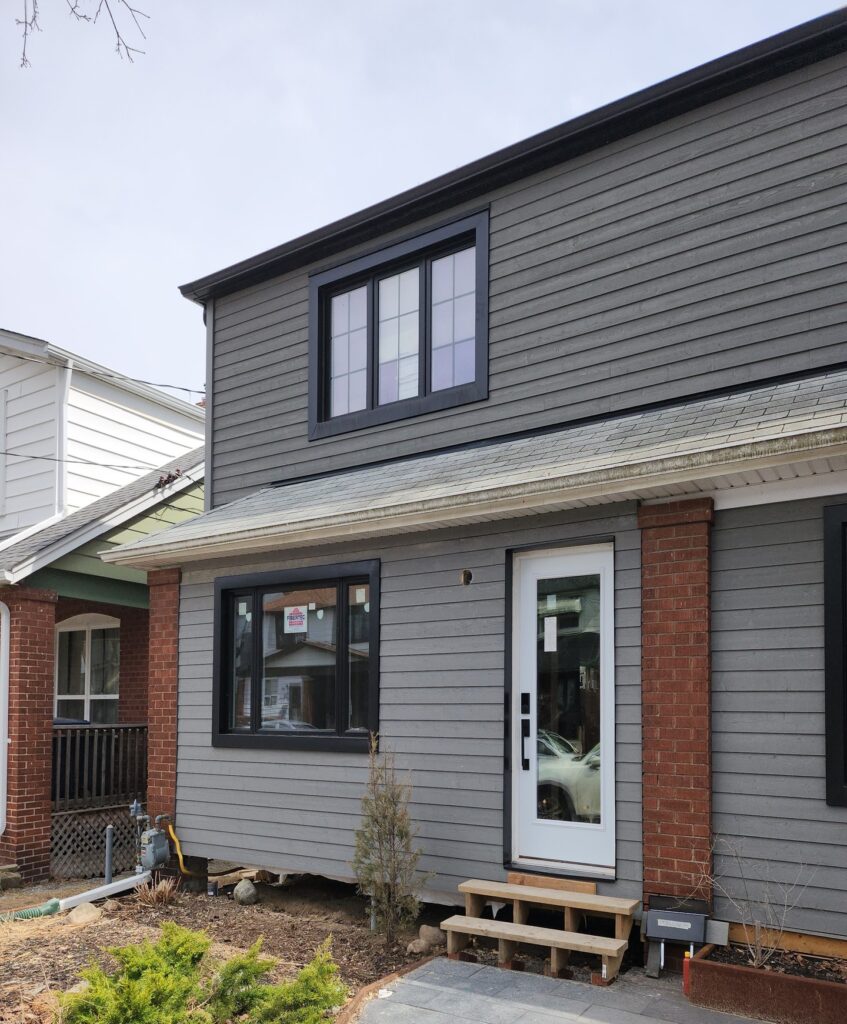
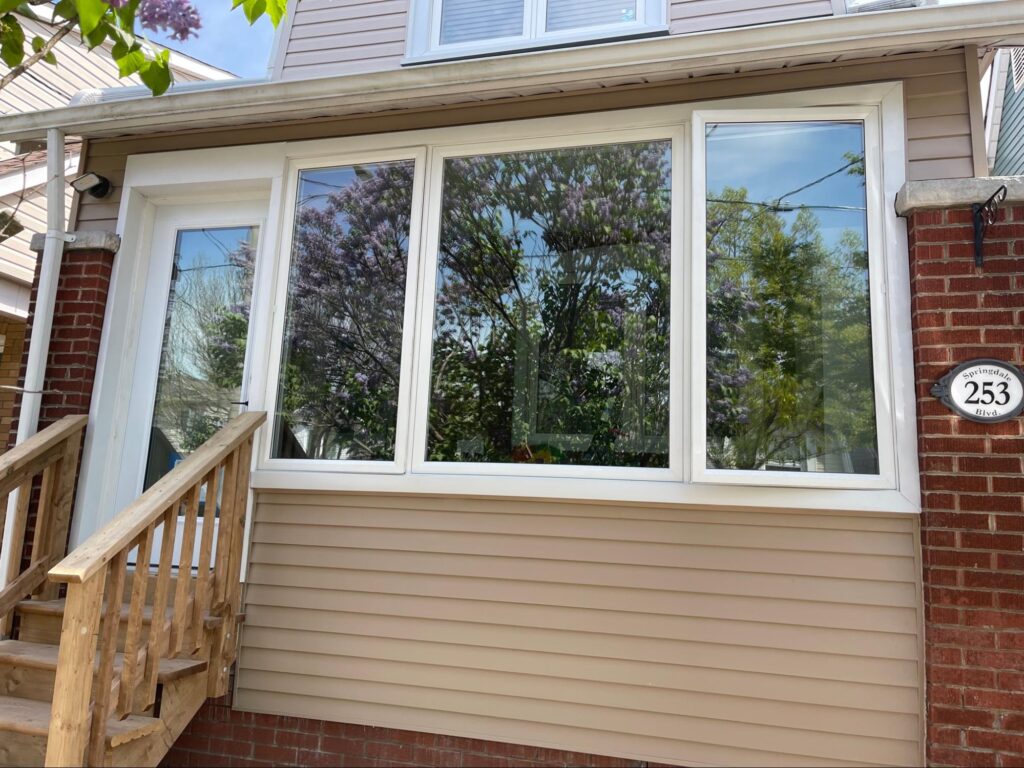
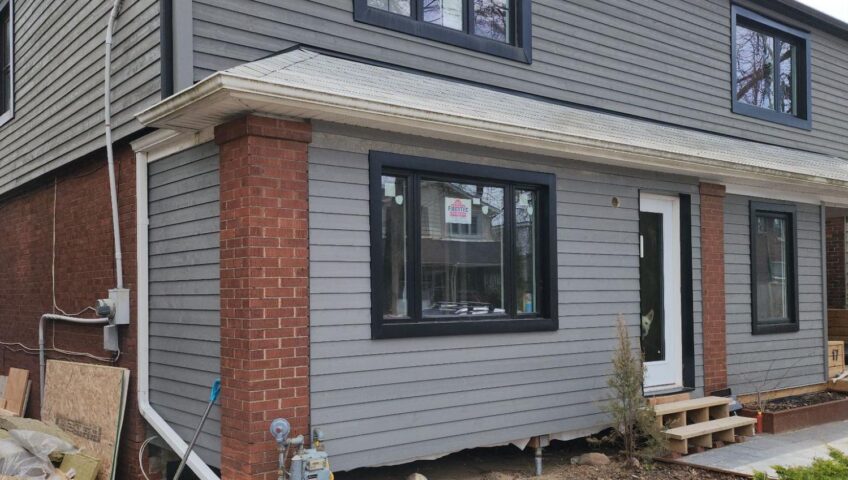
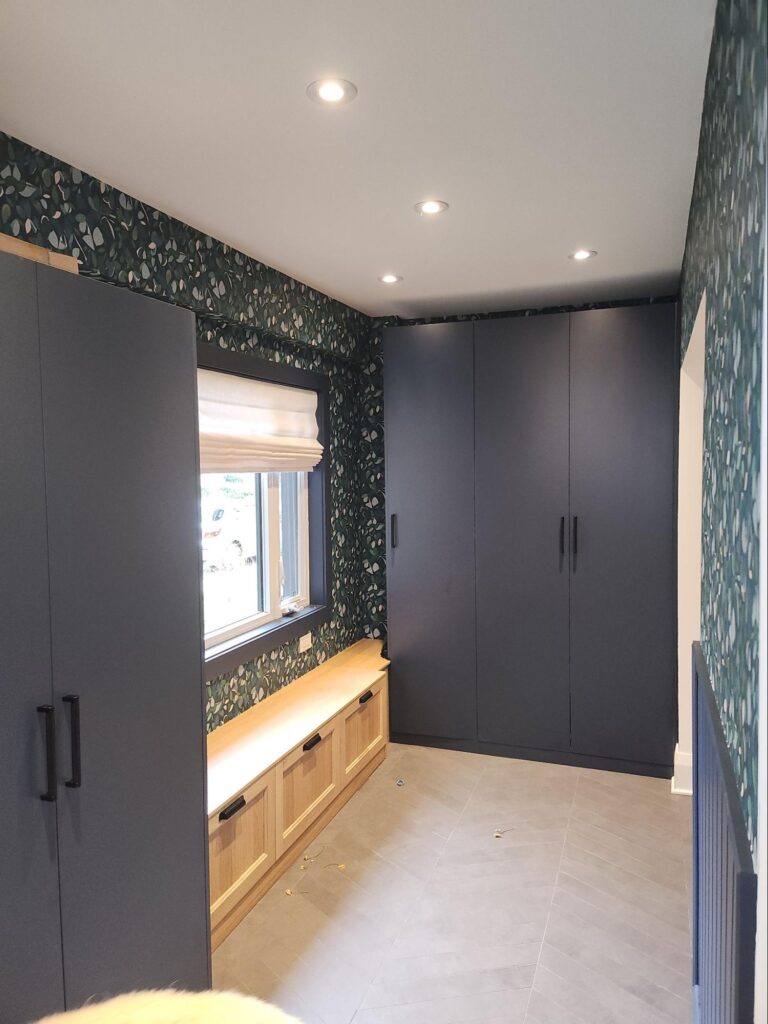
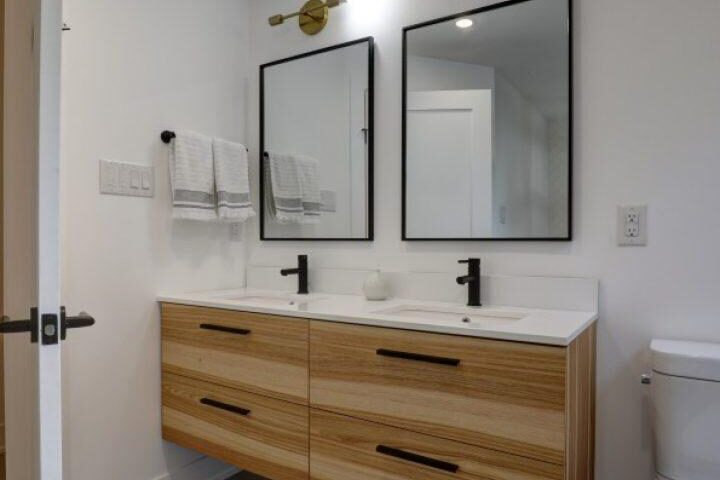
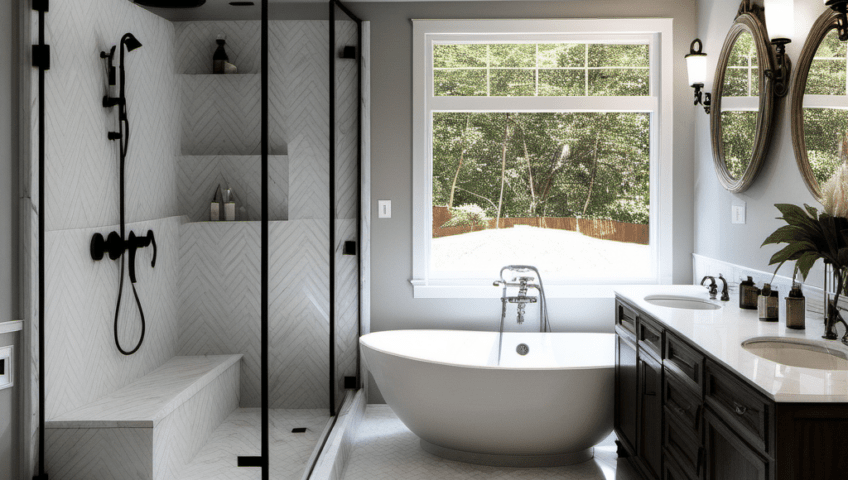
Renovating a home, particularly in the Toronto neighbourhoods of East York, Riverdale, Danforth, or Leslieville can vary greatly in duration. We know every home renovation comes with its unique set of challenges and variables, resulting in each project being set to its own schedule. Depending on the existing structure, unexpected discoveries like structural deficiencies, termite damage, asbestos, or changes in plans, most contractors will build extra margins into their time estimate to account for these events. The result could be a renovation project that lasts between 4 – 6 months. With D2 Build, however, our expertise in these Toronto communities can assess the scope of your project and provide a reliable timeline of half the industry estimate, about 8 weeks for a full main floor gut renovation. We can do this because we have extensive experience working with homes in East York and the core of Toronto, and have developed efficient systems for doing the work, while maintaining high quality throughout the process.
The Preparation Process
Initial Consultation
The renovation process begins with an initial consultation by phone, where we engage in a conversation to thoroughly envision your needs, desires, and budget for the project. This critical step ensures that we fully understand your vision and financial situation. At the end of this initial phone meeting, you will know what is possible within your budget. Next step is to arrange a site visit appointment to have an on-site consultation to observe and discuss your project more thoroughly.
Site Consultation – 3D Design
Our estimator will visit your home to discuss your renovation plans and desired features, such as wall removal, kitchen island placement, and additional closet space. During this meeting, they will utlize advanced design software to accurately measure your space and generate an existing floor plan in both 2D and 3D formats. Furthermore, we can create a proposed floor plan that incorporates your envisioned changes, providing you with a clear visualization of the final outcome.
This process also helps us identify any necessary additional work, such as structural support, plumbing adjustments, and HVAC relocation, ensuring a comprehensive and efficient renovation plan. With this consultation, we will inform you of the exact course of action that will be needed to complete your home renovation, decreasing the event of unexpected rework at extra costs.
Detailed Estimate & Accepted Agreement
After gathering all the necessary information from the site visit, we will compile a detailed estimate for your renovation project. We will then schedule a time to review this estimate with you, ensuring that all your questions and concerns are thoroughly addressed.
When you decide to proceed with the project, we will require a signed agreement and a deposit. This will allow us to formally enter your project into our scheduling system, ensuring that everything is set up for a smooth and timely start to your renovation.
Permits & Design
Most projects will require a building permit. There are some exceptions, and depending on the workload involved, may not be required. Some instances would be if you are not removing any load bearing walls, enlarging window or door openings, relocating plumbing, and installing a new staircase or railings.
Assuming a Building Permit is necessary, we enter the design phase, collaborating closely with our network of skilled architectural designers and engineers to develop detailed plans that reflect the client’s aesthetic preferences and functional requirements. Once the design is finalized, we look into all aspects of the renovation to ensure it complies with East York building codes (or other community regulations of Riverdale, Danforth, Leslieville, or Toronto in general) and standards, preventing potential legal issues and project delays down the line.
The building permit process can take 60 – 90 days depending on any changes you make
Project Commencement
Week 1 – Preparation & Main Interior Gutting
Before the rough work phase begins, thorough preparation is essential to ensure the safety and efficiency of the project. This preparation involves securing the site to prevent unauthorized access and potential hazards, disconnecting utilities such as water, gas, and electricity as required to ensure a safe working environment, and setting up comprehensive safety measures to protect both workers and the surrounding area. Once the site is fully prepped, we proceed with executing the gutting of the main floor interior. This involves the careful and systematic removal of existing structures, fixtures, and finishes, ensuring that the process is both safe and efficient.
Proper waste disposal is also a critical component. We manage the debris meticulously, adhering to Toronto’s regulations for waste disposal. This commitment to regulatory compliance and environmental responsibility helps maintain a clean and safe site, setting the stage for the next phase of the renovation.
Framing & Structural Finishing – Week 2
Following the interior gutting, we call for an inspection by a structural engineer to ensure the existing framing is sufficient. Sometimes existing floor joists are broken and need to be sisted, existing stair openings can be inadequately supported etc Once confirmed we move on framing and structural work. This stage involves making necessary changes to the layout, such as removing or adding walls to achieve the desired open floor plan or room reconfigurations as outlined in the design plan. During this process, we focus on ensuring that all structural modifications are robust and secure. Attention to detail in the foundation and support structures is paramount to prevent any future issues. Once again, any structural adjustments that need to be inspected will occur this week.
Electrical / Plumbing / HVAC – Week 3
The next phase in the renovation process involves upgrading the home’s essential systems to modern standards. This includes installing new electrical wiring, outlets, and fixtures to ensure the home meets current safety standards and accommodates contemporary technology needs. Any updates to the plumbing systems, including replacing old pipes and fixtures with new, more efficient ones to improve water flow and reduce the risk of leaks or other issues will have our full attention. Removal of a wall may require relocating ducting. The integration of these systems will match the design plan to ensure that the placement and functionality of electrical and plumbing elements enhance the aesthetic and practical aspects of the renovation. Once the installation of these systems is complete, we conduct thorough testing to verify that everything operates correctly and safely. This includes checking electrical circuits for proper function and ensuring that plumbing systems are leak-free and maintain proper pressure.
Insulation / Vapor Barrier – Week 4
Enhancing the home’s climate control and energy efficiency starts with ensuring the space is adequately sealed and insulated. . This step is crucial for ensuring that the home maintains a comfortable temperature year-round . Particularly for homes in the East York, Riverdale, Leslieville, and Danforth communities, the older style of these is very often solid masonry (double brick) with ¾” strapping on the inside and no insulation, Semi detached homes usually have a 2×4 framed 2nd floor that can be insulated. Proper insulation not only helps in maintaining the desired indoor temperature but also plays a significant role in reducing energy consumption and lowering utility bills. We also seal openings around windows , doors, vents etc to cut down the drafts, Optionally, we can iimplement soundproofing measures to minimize noise transfer within the home. This involves using specialized materials and techniques to create a quieter, more peaceful living environment, enhancing overall comfort. By focusing on these key areas, we ensure that the renovated main floor is not only aesthetically pleasing but also functional, energy-efficient, and comfortable for you.
Drywall Boarding – Week 5
We begin with drywall installation, which could involve putting up new drywall panels and preparing them for painting or finishing. This step requires careful attention to detail to ensure that the walls are smooth, seamless, and ready for the final touches. Following the drywall installation, we install metal corner beads to ensure smooth clean edges . When tha is completed, we proceed with taping and plaster.
Taping and Plaster – Week 6
With the drywall now in place, you will be able to get a sense of your new space. To finish this transformation, our skilled tapers and plasterers will meticulously apply three coats of plaster material, ensuring each layer is perfectly smooth. After the final coat, they will sand the surface to achieve an impeccable finish, making it ready for painting. This thorough process ensures that your walls are not only structurally sound but also visually flawless, setting the stage for the flooring and cabinet installation.
Flooring / Cabinets/Trim – Week 7
The installation of flooring typically takes 1-2 days. Once the flooring is laid, it will be protected to prevent any damage during subsequent work. Next, we bring in and install the cabinets. Following the cabinet installation, precise measurements for the countertops can be taken and completed.
Afterward, the finished trim will add a polished touch to the space. The walls and trim are then painted, ensuring a seamless and cohesive look. Finally, we attend to the cabinet finishes, such as handles and other hardware, to complete the aesthetic and functional aspects of your cabinetry. This sequence of steps ensures a smooth and efficient progression toward the completion of your renovation project.
Final Touches and Inspection – Week 8
As the renovation project nears completion, minor cabinet details like handles will be completed. Once the counter is installed, we will complete the backsplash so your kitchen is ready for electrical and plumbing finishes. Outlets, lighting, and switches will then be added by our electricians to give your kitchen that finished look.
We then provide a detailed clean-up of the renovated area to prepare it for the final reveal.This involves thoroughly cleaning every surface, removing all dust, debris, and any remaining construction materials to ensure the space is ready for the client’s use. Following the clean-up, we conduct a final inspection, which includes a comprehensive walk-through with the client. During this walk-through, we review all aspects of the renovation, addressing any concerns and making sure that every detail meets the client’s expectations. Our high standards also extend beyond the renovation. D2 Build offers all our clients, not just limited to the Toronto communities we serve. We remain available to address any issues or concerns that might arise once the client begins to use their newly renovated space. This commitment to post-renovation support ensures that any potential problems are swiftly and efficiently resolved, providing the client with peace of mind and ensuring their long-term satisfaction with the renovation.
Achieving a main floor gut renovation in just 8 weeks with D2 Build demonstrates our commitment to efficiency, quality, and client satisfaction. While home renovations in Toronto neighbourhoods like East York, Riverdale, Danforth, or Leslieville often come with their unique challenges and variables, our expertise allows us to streamline the process and deliver exceptional results within a reasonable timeframe. Keep in mind that project timelines can be influenced by multiple factors, including change orders, damaged materials, city inspections, and custom work requests. We will leverage our experience, efficiency, and strong vendor relationships to ensure a smooth and seamless experience for all our clients. With planning, attention to details, and dedication to efficiency without sacrificing excellent quality, D2 Build is your ideal choice to transform your Toronto home into a beautiful, functional space that can be enjoyed for years to come.


